Create a Project
These are the steps to create a Project in GitDailies.
Getting Started
To create a project, first navigate to the “Projects” tab

Then choose “Create Project”

Select Repos for Project
Choose all the repositories whose activity you would like to track for this Project.
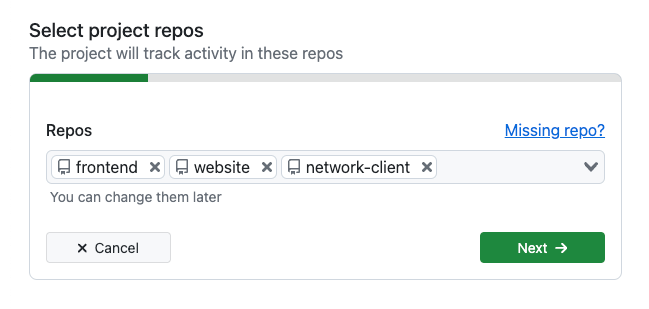
If you can’t see a repository you expected, make sure you are following that repository with GitDailies.
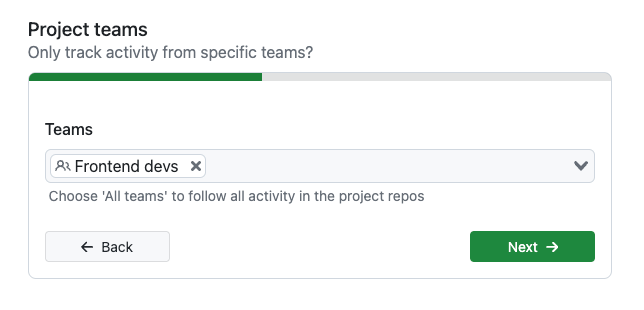
Select Teams for Project
You make a Project only track activity for users who are a member of specific teams. (This step is optional.)
This is useful if you have a team that mainly contributes to “other team’s repositories” (for example, a documentation team or a security team).
Setting up a project for the team will filter out the “noise” of all the other repository contributors and makes it easy for the team to see their work across all the repositories.
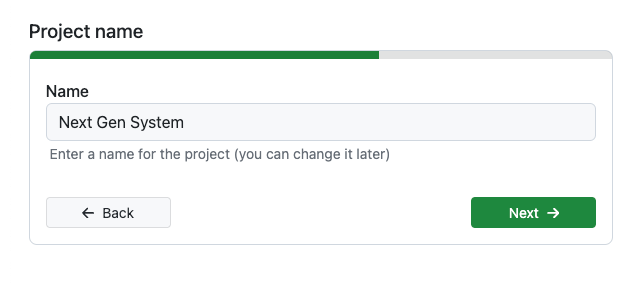
Choose Project Name
Choose a relevant name for the Project.
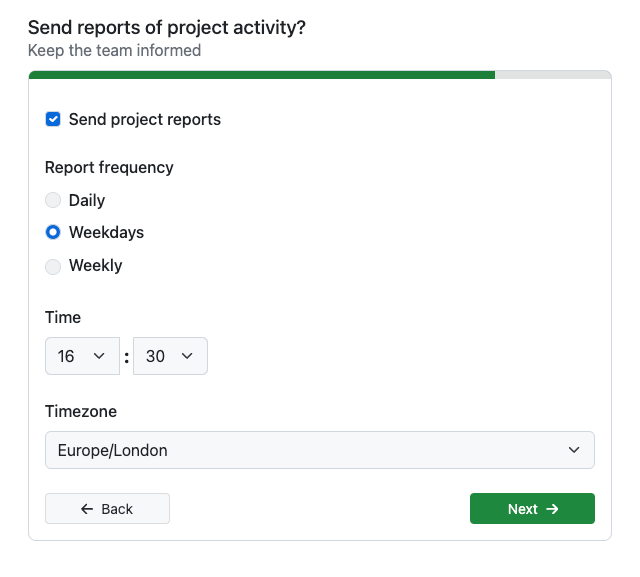
Project Report
You can get regular reports of Project activity. You can choose between:
- Every day
- Every weekday
- Weekly
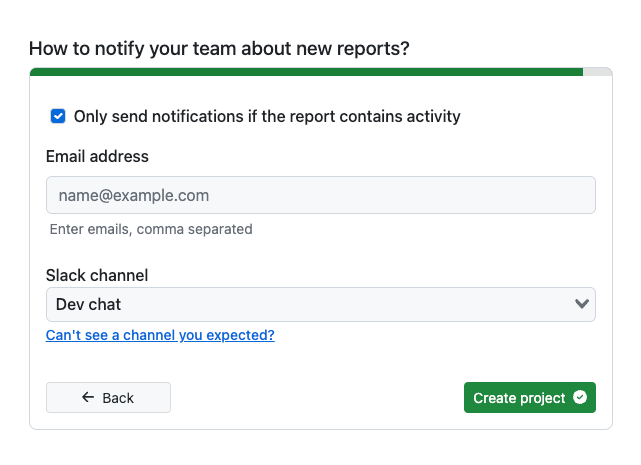
Choose Notifications
Report notifications can be sent by Email or Slack.
You can also choose to only receive notifications if the report contains activity.
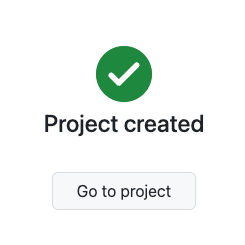
Complete!
Click the “Create project” button, and the project will be set up for you.
If you have set up a Project report, you will receive your first report at the chosen delivery time.
Now is a good time to create some Project Alerts!