
An important productivity tip for software teams is to link your development tools together whenever possible. Your tools become more powerful when working together, and being able to jump instantly between tools helps developers maintain concentration.
An easy yet powerful example is to link your Git commit messages to any relevant bugs or tickets. There are a couple of ways to do this, depending on whether you use GitHub Issues, or some other project management tool (for example Jira, or Trello).
How to Link Commits to GitHub Issues
If you use the correct format in your commit message, your commit will be automatically linked to a
GitHub Issue or
Pull Request.
To do this, put a # followed the Issue or Pull Request number. This will automatically create a link
in the commit message.
For example if you made a commit to the microsoft/vscode repo and wrote the folllowing commit message:
Fix bug #1337this gets automatically converted to:
Fix bug [#1337](https://github.com/microsoft/vscode/issues/1337)Notice how the link points to https://github.com/microsoft/vscode/issues/1337 ? Nice :)
You can also use the prefix GH-. This means the following commit message:
Fix bug GH-1337gets automatically converted to:
Fix bug [GH-1337](https://github.com/microsoft/vscode/issues/1337)It is also possible to link to Issues in other GitHub repos. The details are on the GitHub website.
GitDailies supports all these possible formats, and automatically links GitHub Commits to Issues or Pull Requests.
How to Link a Commit to Jira or Other Tools
If you use a project management tool like Jira, or Trello, a really powerful productivity boost is to link from commit messages to issues or tickets in those tools.
Using GitHub
If you have GitHub Pro, Team, or Enterprise, you can configure autolinks within GitHub. There is more information on the GitHub website.
Using GitDailies
If you use GitDailies to stay up to date with your team’s daily GitHub work, there’s good news! You can configure GitDailies to automatically link from commits to any external tool. Here’s a guide on how to do it.
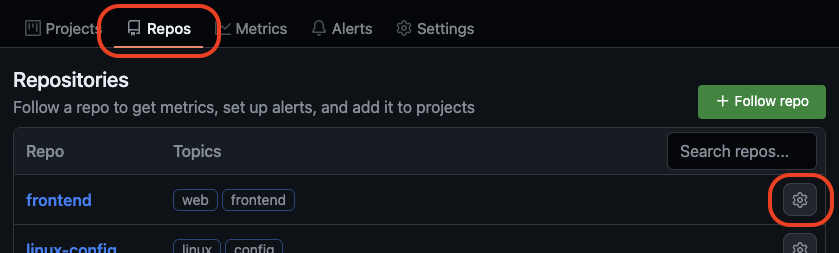
- To start, go to the Settings page for the repo you want to set up autolinks for:
- Then choose the
Generalsettings tab: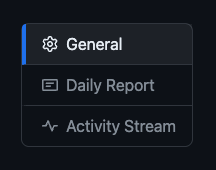
- Click
Add autolinkin theAutolink Referencespanel: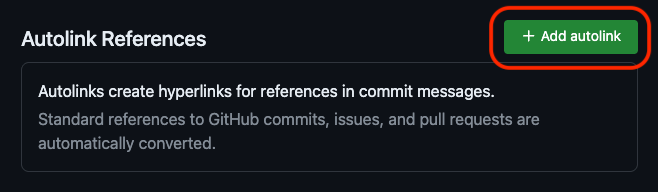
- Choose a prefix for the autolink. Whenever GitDailies sees a commit message containing this
prefix followed a number (e.g.
ABC-23), it will create a link: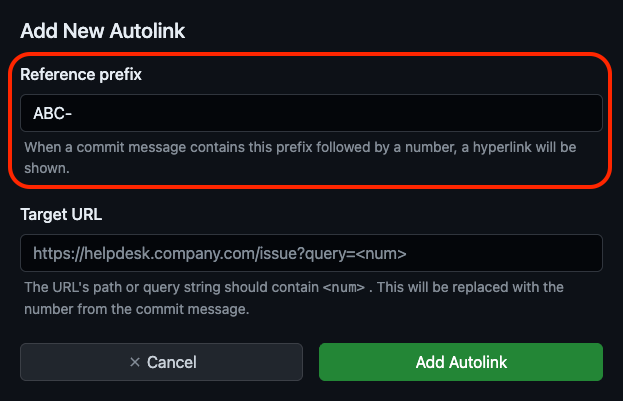
- Choose a target for the autolink. The format of the link depends on which tool you are linking to
e.g. for JIRA it might be
https://yoursubdomain.atlassian.net/browse/ABC-<num>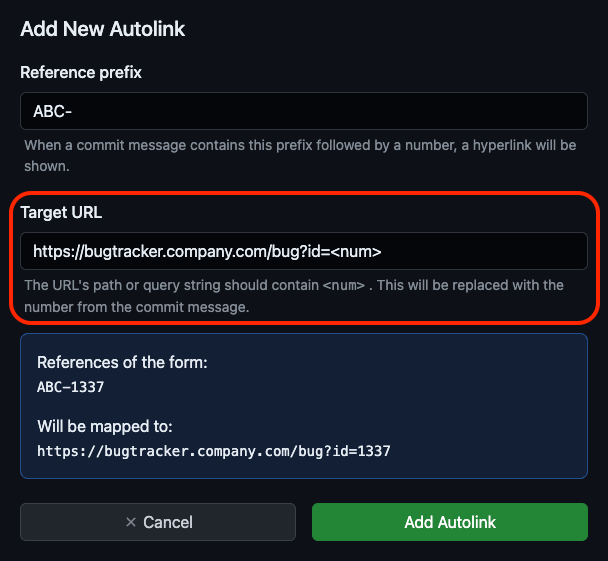
- You will see an example mapping for your new autolink:
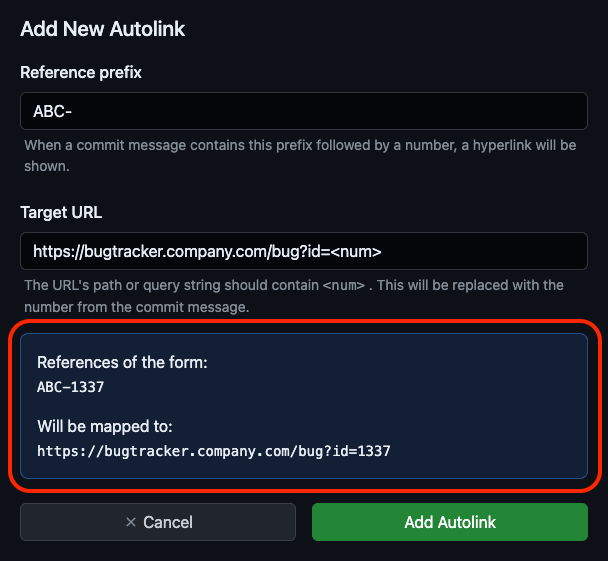
- Click
Add Autolink. You now have autolinks in commit messages for this repo!
Wondering what you can do next?
Finished this article? Here are a few more things you can do:
- Get a demo of GitDailies and see your team's metrics live.
- Start measuring your team with GitDailies — free for 2 repos.
- Share this article on social media